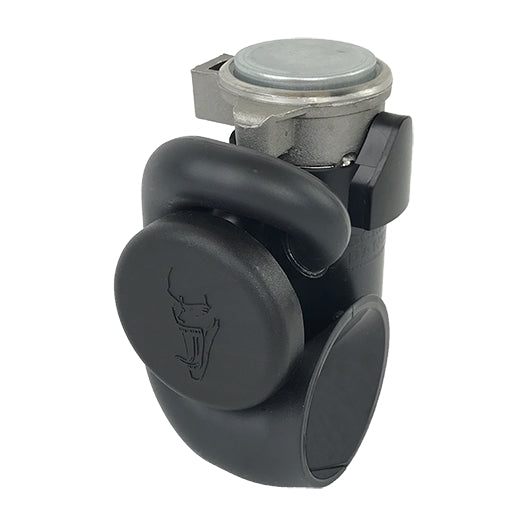
Installation Info
What’s in the Box? - Screaming Banshee® horn, wiring harness & hardware pack. If anything is missing please email us at: shockwave@screaming-banshee.com
Shockwave Installation
Step 1: Fitting the Horn –
Remove the stock horn and fit the Banshee in its place. In some cases it may be necessary to mount in a different location if there is insufficient space. Screaming Banshee also sells mounting brackets on our website that are suitable for almost all models of motorcycles, Scooters and cars. Mount the horn as close to vertical as possible, in a place where either by falling or wind forced rain cannot get into the outlet of the horn. DO NOT MOUNT ON ENGINE. Use the included metric bolt, nut & washer. First, place bolt into the horn housing, then through mounting hole. Fit the flat and lock washer before the nut. Make sure to snug it up tight to prevent vibrations from rattling it loose.
Step 2: Wiring the System -
MAKE SURE THAT THE BATTERY IS DISCONNECTED! Firstly plug the wiring harness connector into the socket in the base of the horn making sure to align the pins correctly. Follow the instructions below for connecting each wire. You will need a wire stripper and a crimping tool to crimp the connectors to each wire.
Red Wire – connect this to the (+) of your battery using a supplied blue ring terminal.
Black Wire – connect to a good grounding point using a supplied blue ring terminal. Its very important that you find a good ground with bare metal. Note: most installation problems are due to a bad ground connection.
Blue Wires – connect to the wires that went to the stock horn, using the 2 male spade terminals, it does not matter which way around these are connected. Note: if your stock horn connectors are not the spade type you will need to source appropriate terminals to suit your vehicle.
Yellow Wire – Connect this to the High Beam wire on your headlight using the supplied Tap Splice terminal. Note: This is not needed for the horn to function but if not connected make sure yellow wire cannot short to chassis.
Step 3: Testing -
Reconnect the battery and turn on the key. Now press and hold your horn switch and the Screaming Banshee® Banshee should sound. If you have any issues or questions, please visit our website and go to the installation section for a troubleshooting guide. If all else fails email us at: shockwave@screaming-banshee.com
Settings – The chart below shows how to set the horn modes using the 2 removable shunts to the left of the electrical connector.


| SHUNT ON | SHUNT OFF | |
|---|---|---|
| Left Side
Shunt | Horn & Light on
Pulse | Horn & Light on
Solid |
| Right Side
Shunt | 0.15 sec Delay
for full Volume | 0.00 sec Delay
for full Volume |

Mini Banshee Installation
The Mini Banshee is designed to be loud and very easy to install. The Mini will fit in the area of your existing horn and will require no wiring. The install is a simple plug and play.


